TiviMate Premium: The Complete Setup Guide
TiviMate is widely considered the best IPTV player available, and for good reason. If you have just installed it and want to learn how to configure it like a pro, this TiviMate Premium setup guide walks you through every step from adding your playlist to customizing the interface for the best possible viewing experience.
I have been using TiviMate Premium for over two years, and it completely changed how I interact with IPTV. The app is packed with features that most users never discover. Let me show you everything.
Step 1: Download and Install TiviMate
Head to the Google Play Store on your Android TV device, Firestick, or Android phone and search for TiviMate IPTV Player. The free version lets you add one playlist with limited features. For the full experience, you will need TiviMate Premium, which costs about $5 per year or a one-time $25 for lifetime access.
Install the app and open it. The initial screen will ask you to add a playlist. This is where you enter your IPTV subscription details.
Step 2: Add Your IPTV Playlist
TiviMate supports two main connection methods. The first is M3U URL, which is a web link to your channel list. The second is Xtream Codes API, which uses a server URL, username, and password.
Xtream Codes is the recommended method because it provides faster channel loading and better EPG integration. Enter the server URL provided by your IPTV provider, along with your username and password. TiviMate will download your channel list automatically.
If your provider only gave you an M3U URL, select that option instead and paste the URL. You may also need to enter a separate EPG URL if your provider includes one.
Step 3: Configure EPG Settings
After your playlist loads, go to Settings and then EPG. This is where TiviMate really shines. Enable the built-in EPG sources and add any custom EPG URLs your provider gave you. The EPG typically takes a few minutes to download completely.
Set the EPG time zone to match your home country if you are watching from abroad. This ensures the program guide shows correct times for your familiar viewing schedule.
Step 4: Customize the Interface
Go to Appearance settings to personalize how TiviMate looks. You can change the theme, font size, and layout. I recommend enabling the channel preview feature, which shows a small live preview of the current channel as you scroll through the list.
Under Layout, you can choose between a full-screen channel list or a side panel view. The side panel is great for browsing channels while watching something else in the background.
TiviMate Settings Quick Reference
| Setting | Recommended Value | Why |
|---|---|---|
| Buffer size | Medium or Large | Prevents buffering |
| Player | ExoPlayer | Best compatibility |
| Auto-update EPG | Every 4 hours | Kept guide current |
| Start on boot | Enabled | TV-like experience |
| Channel preview | Enabled | Browse while watching |
| Default quality | Match source | Best available quality |
Step 5: Set Up Favorites and Groups
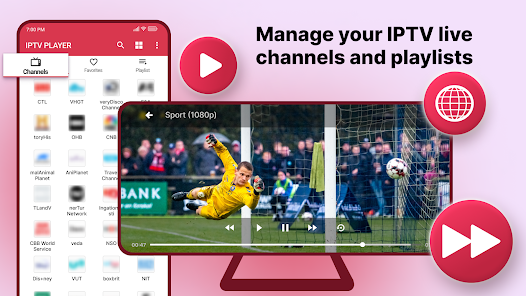
Long-press any channel and select Add to Favorites to save your most-watched channels. Create separate groups for Sports, News, Movies, and Kids. TiviMate lets you create custom groups that organize channels however you want.
Tap the three-dot menu in the top corner and select Manage Groups to create new categories and add channels to them. This is the single biggest quality-of-life improvement for daily IPTV use.
Step 6: Configure Playback Settings
Go to Playback settings and configure your default stream behavior. Set the default quality to match your internet speed. Enable hardware acceleration if your device supports it. Configure the audio output to match your sound system setup.
For the buffer size, select Medium if you have a decent internet connection or Large if you experience frequent buffering. The buffer setting tells TiviMate how much data to preload before playing, which directly affects buffering resistance.
TiviMate Premium Features Worth Exploring
Once you have the basics configured, explore the premium features. Recording lets you schedule and record live TV to your device storage. Catch-up TV integration shows you programs from the past few days that you can replay on demand. Multi-view lets you watch up to four channels simultaneously on a split screen.
Frequently Asked Questions
Is TiviMate Premium worth the price?
Absolutely. At $5 per year, it is one of the best investments for IPTV users. The premium features like multiple playlists, recording, and advanced EPG make it worth every penny.
Can I use TiviMate on Firestick?
Yes. Install it from the Amazon App Store or sideload it using the Downloader app. TiviMate works great on Firestick and is one of the most popular IPTV apps on the platform.
How do I update the channel list in TiviMate?
Go to Settings and then Playlists. Select your playlist and tap Update. TiviMate will re-download your channel list and EPG. Do this periodically to keep your channels current.
Can I use TiviMate with multiple IPTV providers?
Yes, with Premium. Free version supports one playlist. Premium supports multiple playlists, so you can combine channels from different providers into a single interface.